RealVPN on iPhone & iPad
Install, sign in, pick a location and connect.
RealVPN for iPhone and iPad protects every app with one tap. Here’s how to install it, sign in and get the most out of it.
What you need
- iPhone or iPad with iOS/iPadOS 15.0 or later
- A RealVPN account — create one in 20 seconds
-
Install RealVPN from the App Store
Open the RealVPN page on the App Store and tap Get. RealVPN may not appear in the App Store in a few regions with VPN restrictions — in that case, change your Apple ID region or contact support.
-
Sign in
Open the app, tap the gear icon in the top-right corner and sign in with your RealVPN email and password. The same account works on all your devices.
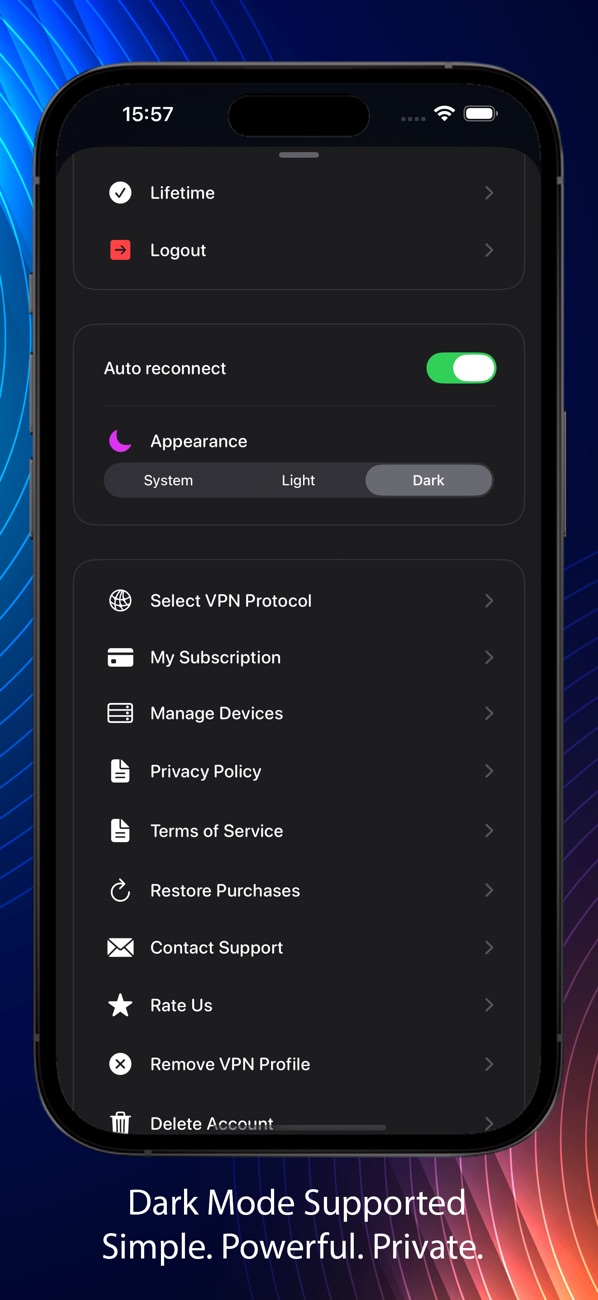
Settings: plan, auto-reconnect, appearance, protocol, devices and support. -
Allow the VPN configuration
On first connect iOS asks to Add VPN Configurations. Tap Allow and confirm with Face ID, Touch ID or your passcode. This is a one-time step.
-
Tap the power button
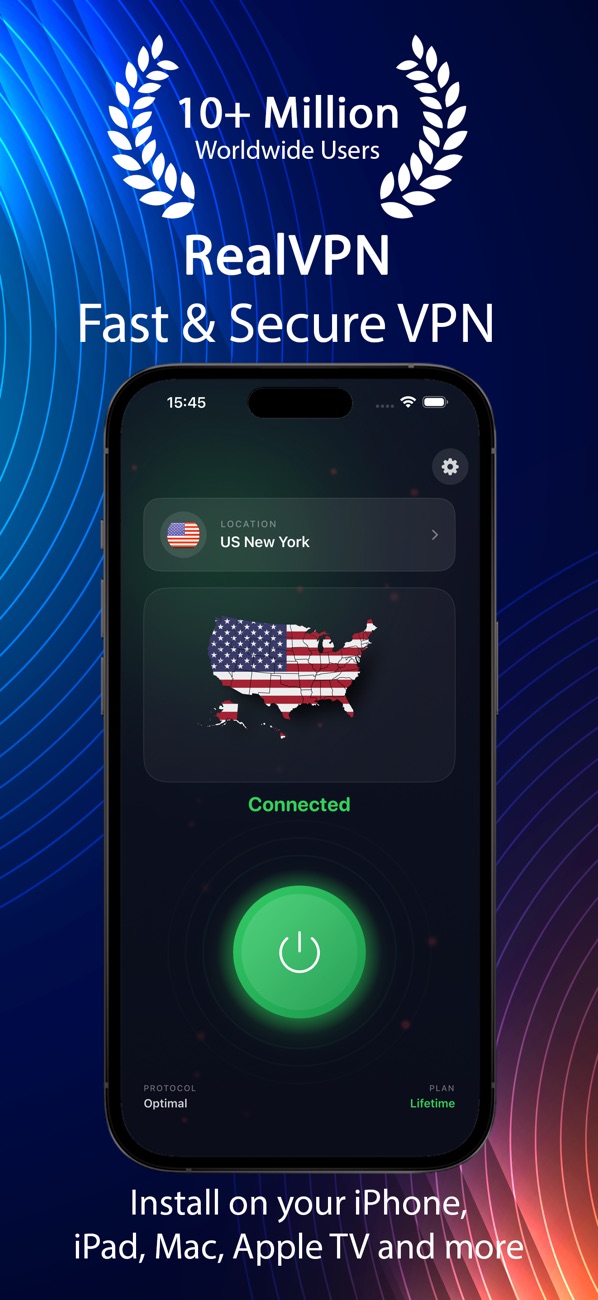
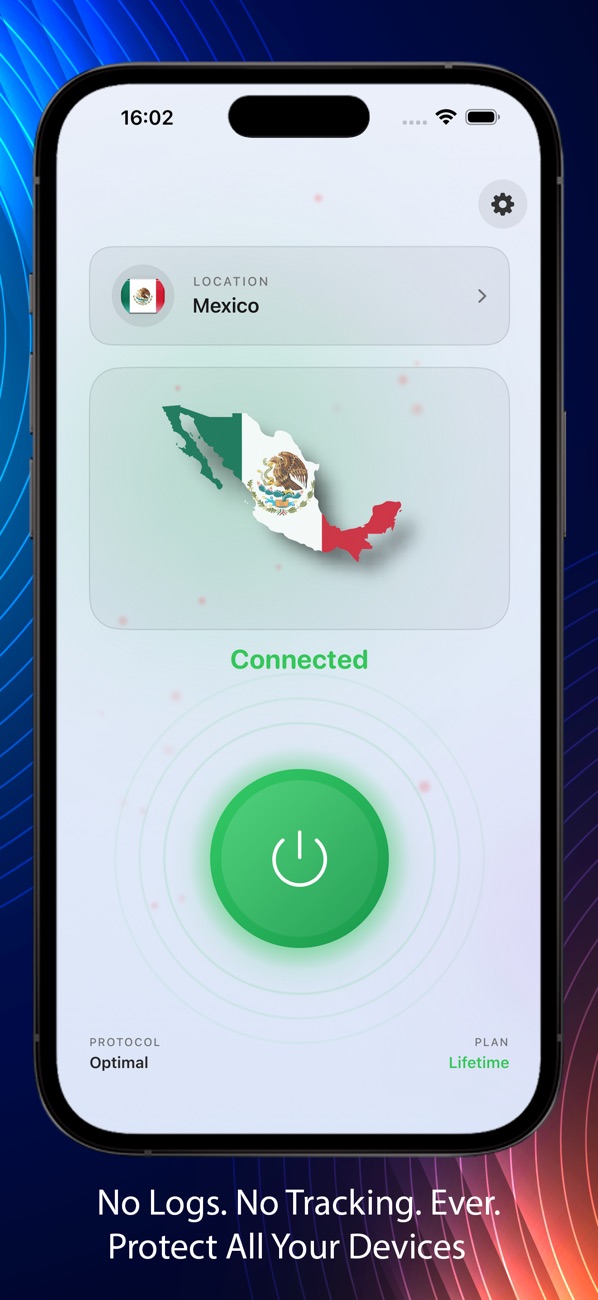
The app picks the Optimal region and protocol for you. When the button turns green and says Connected, all traffic from your iPhone is encrypted.
-
Choose a location (optional)
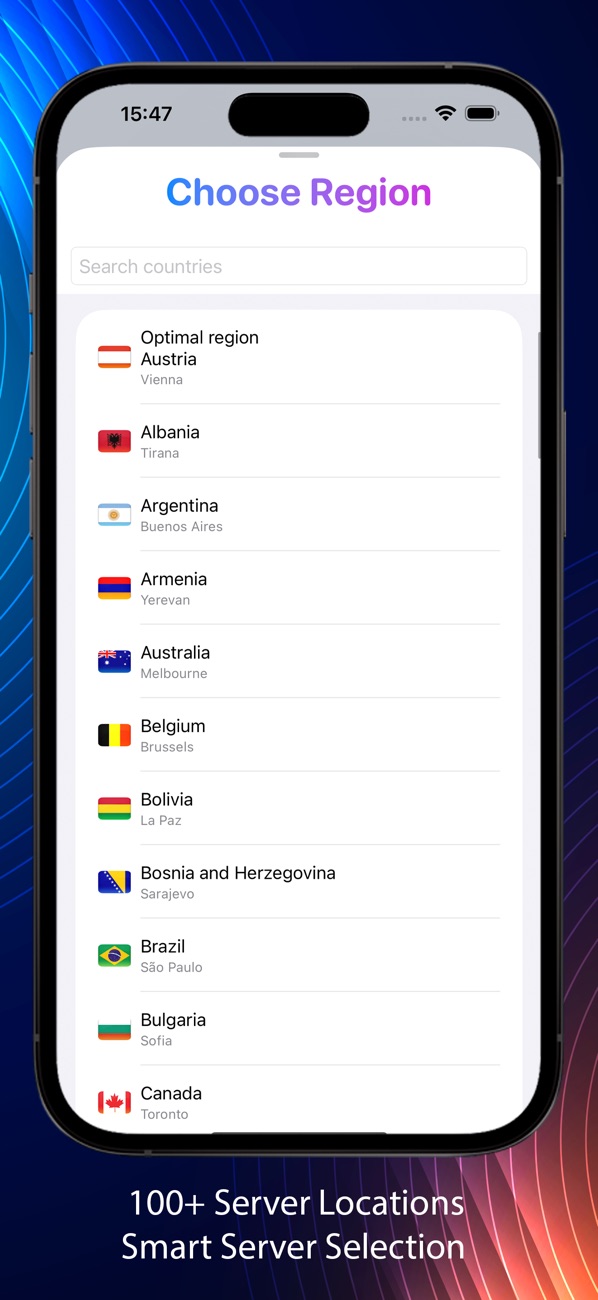
Tap Location at the top to open the list. Search by country, or keep Optimal region for the fastest server near you.
-
Change the protocol if a network blocks you
Go to Settings → Select VPN Protocol. Optimal is right for most people. Pick VLESS on networks that block VPNs, OpenVPN TCP on unstable connections.
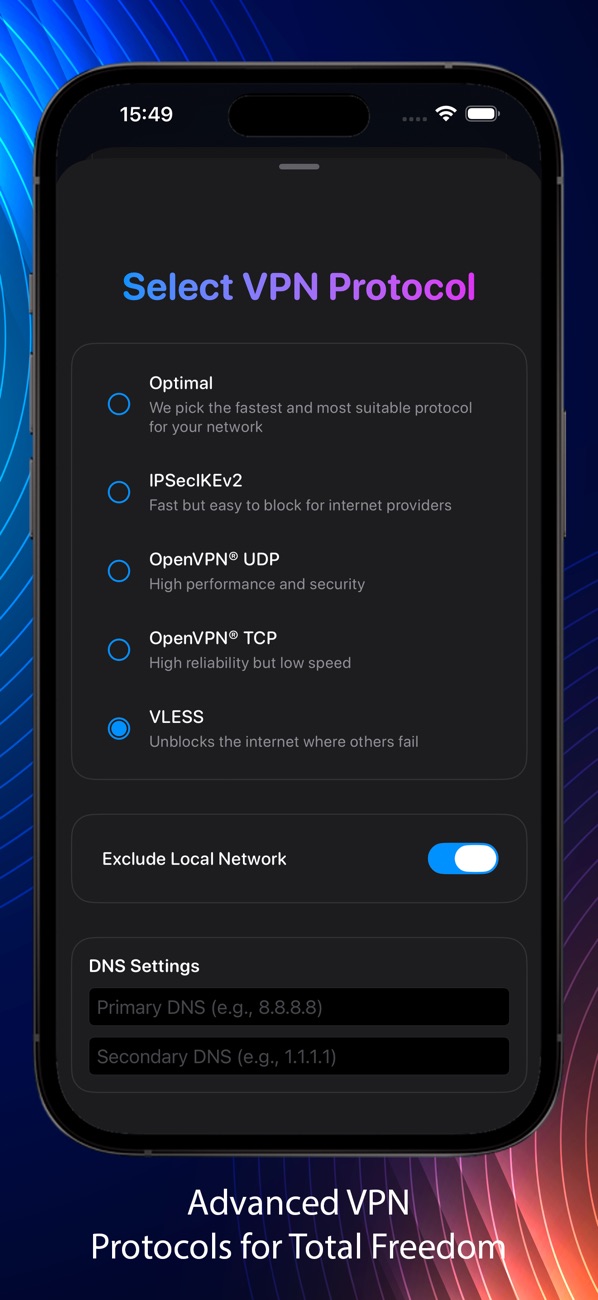
Turn on Auto reconnect in Settings so RealVPN reconnects after your iPhone changes networks. Not sure which protocol to use? See Which protocol should I use?