IKEv2 on macOS
System Settings → VPN.
macOS supports IKEv2 natively — add RealVPN in System Settings and toggle it from the menu bar.
What you need
- macOS Ventura (13) or later — older versions use System Preferences → Network
- An active RealVPN plan
-
Get your IKEv2 config
Sign in at realvpn.io, open the Account menu and choose Manual VPN setup — or go straight to realvpn.io/settings.
Select IKEv2, choose a location close to you and press Generate config. You’ll get a server address, login and password.
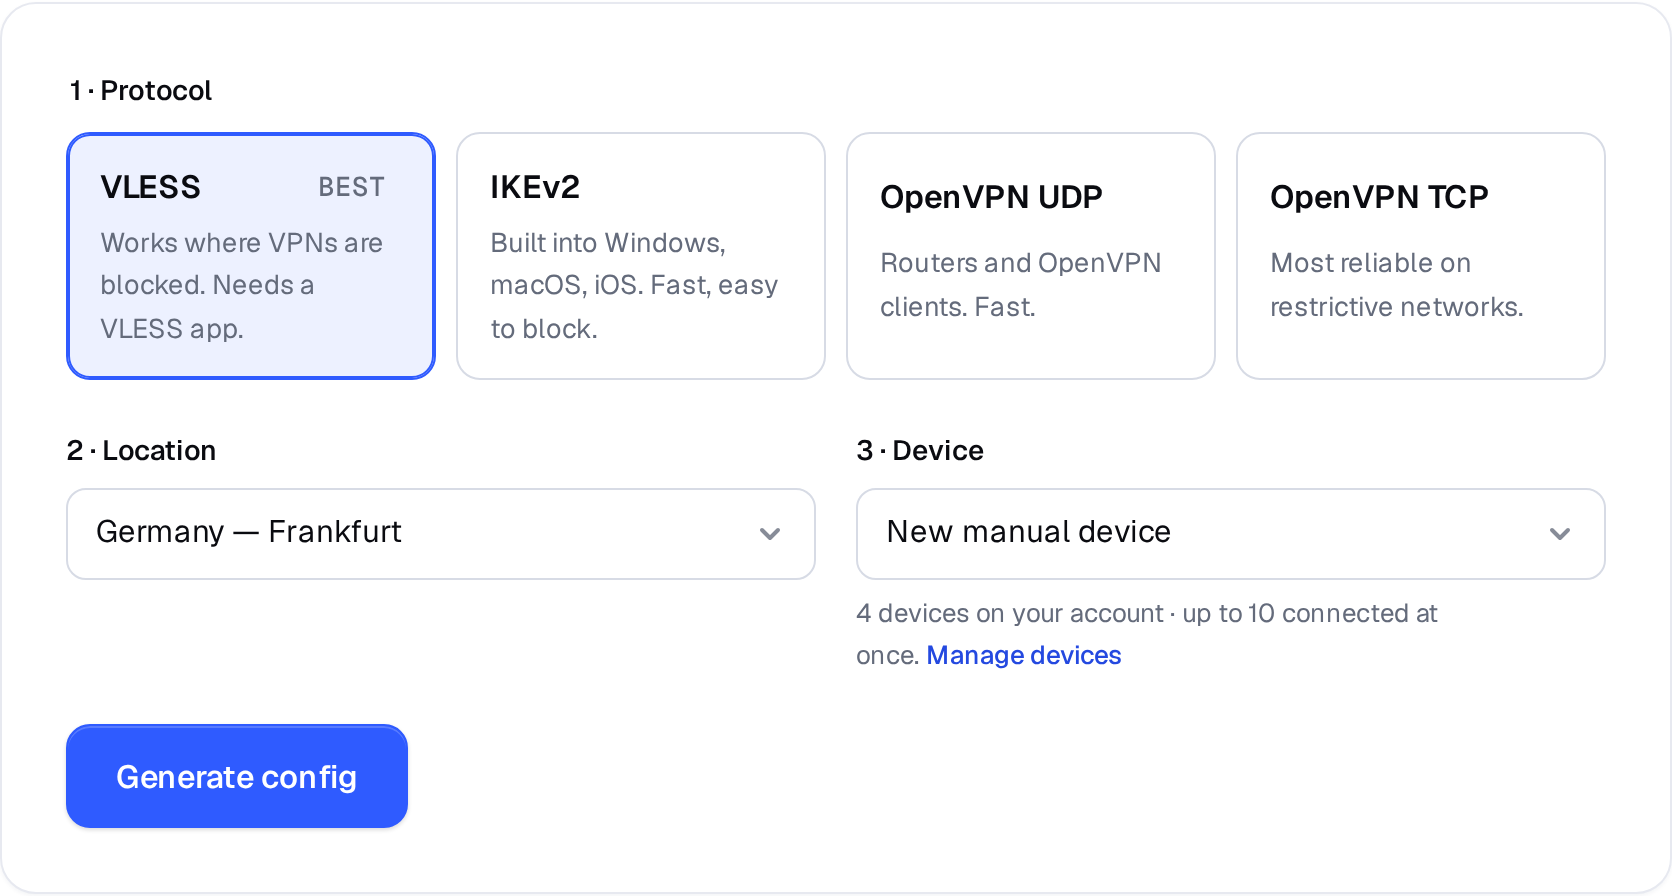
Manual VPN setup: pick a protocol, a location and a device. 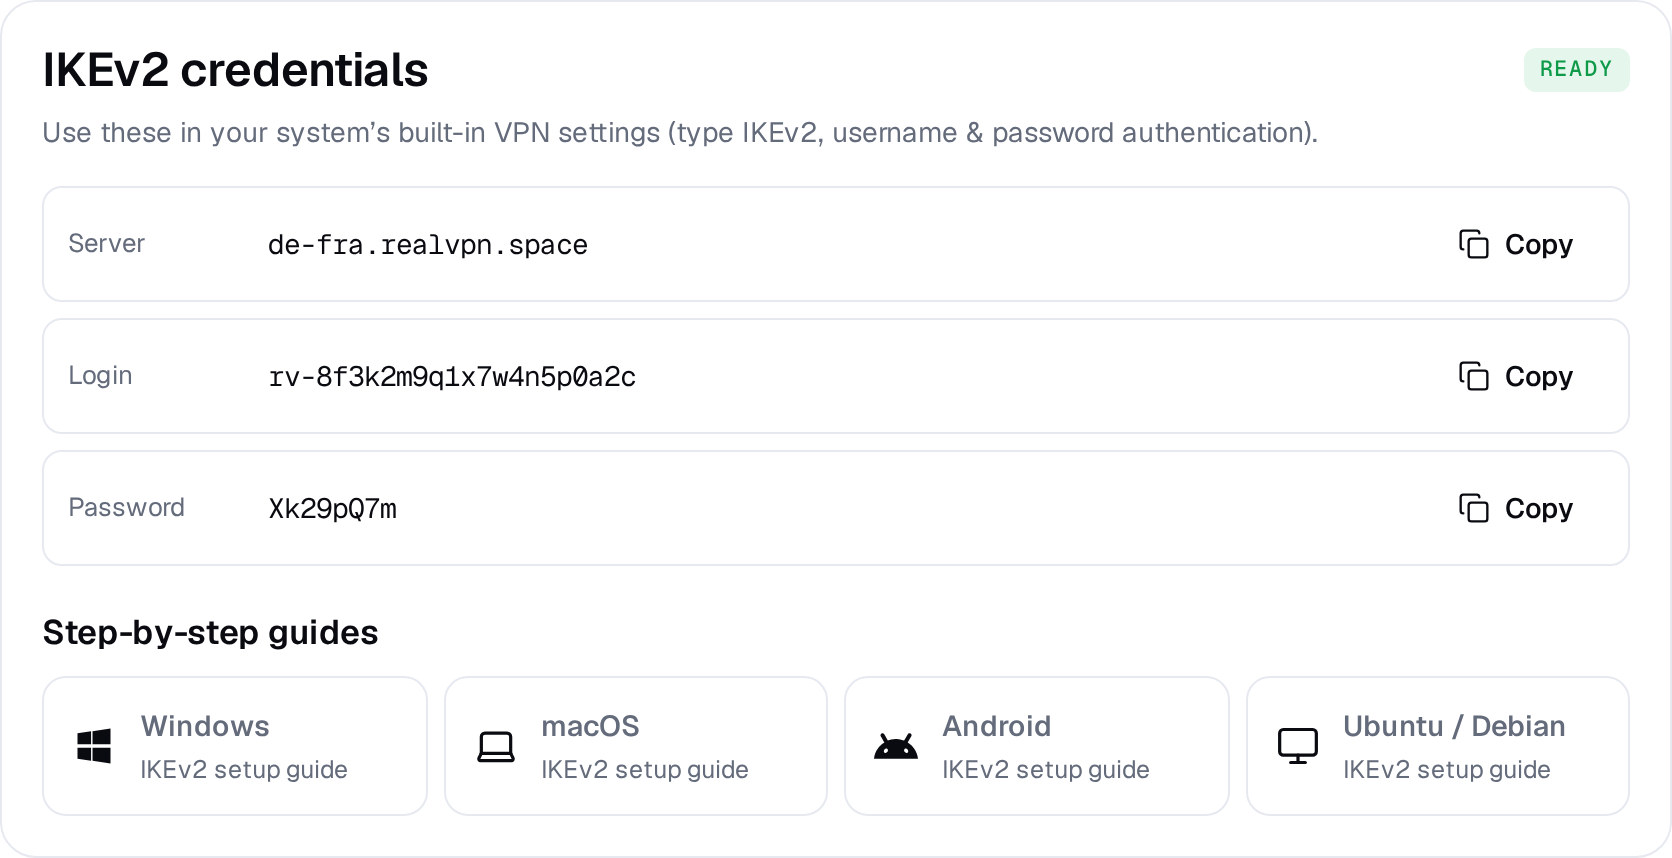
Example result — your values will be different. Device: choose New manual device the first time. Setting up the same device again? Pick it from the list to reuse its credentials instead of creating a new one.
-
Add a VPN configuration
Open System Settings → VPN, click Add VPN Configuration and choose IKEv2…
-
Enter the details
Display nameRealVPNServer addressde-fra.realvpn.spaceRemote IDde-fra.realvpn.spaceLocal ID(leave empty)User authenticationUsernameUsernamerv-8f3k2m9q…Password••••••••CancelCreateUse the server address from the config page for both Server address and Remote ID, and the generated login and password.
-
Connect
Turn on the switch next to RealVPN in System Settings → VPN. Tip: enable Show VPN status in menu bar to connect with one click.