VLESS on macOS with Hiddify
Menu-bar client for Apple silicon and Intel Macs.
Hiddify brings VLESS to macOS on Apple silicon and Intel Macs. It’s free and open-source.
What you need
- A Mac with a recent version of macOS
- An active RealVPN plan
- About 5 minutes
-
Get your VLESS config
Sign in at realvpn.io, open the Account menu and choose Manual VPN setup — or go straight to realvpn.io/settings.
Select VLESS, choose a location close to you and press Generate config. You’ll get a VLESS link and a QR code.
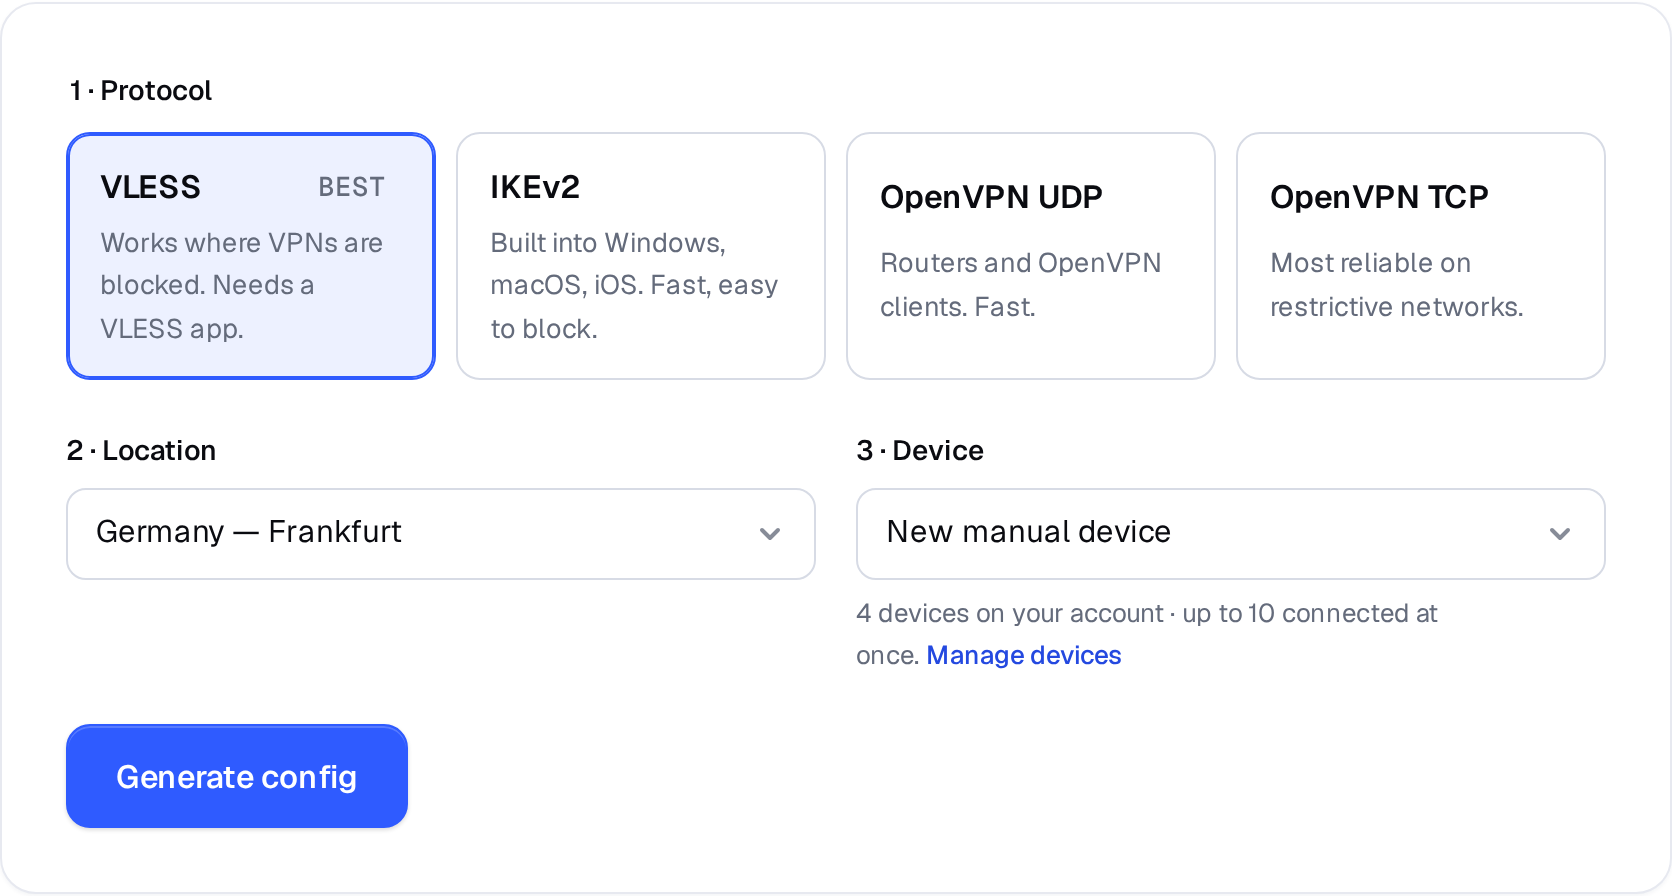
Manual VPN setup: pick a protocol, a location and a device. 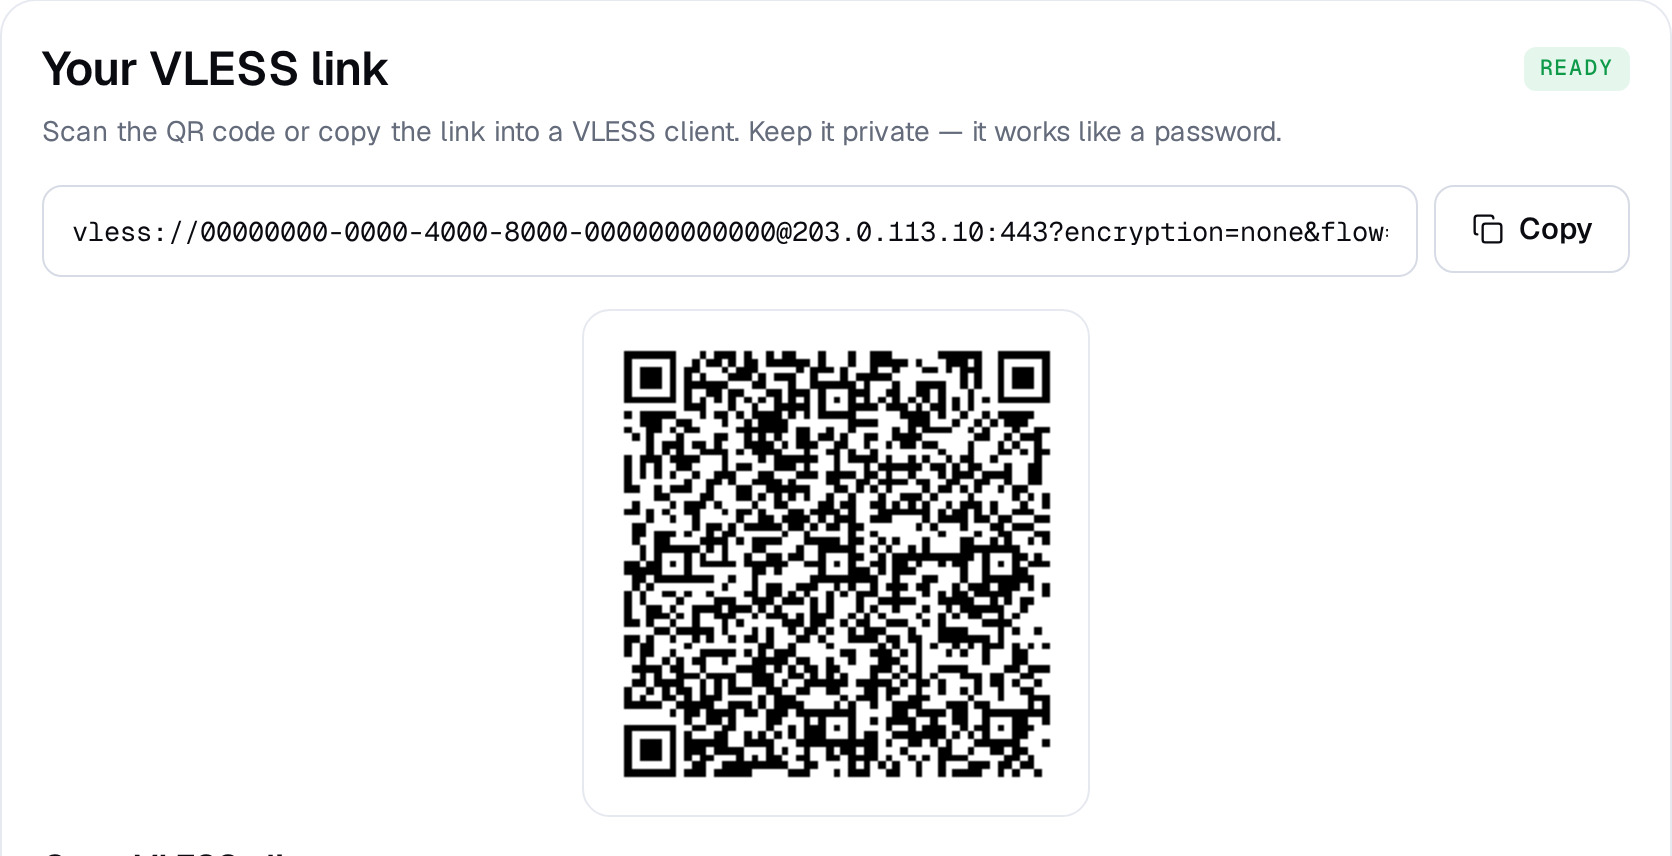
Example result — your values will be different. Device: choose New manual device the first time. Setting up the same device again? Pick it from the list to reuse its credentials instead of creating a new one.
-
Install Hiddify
Get Hiddify on the Mac App Store, or download the .dmg from the official GitHub releases.
-
Import your VLESS link
Click Copy on the config page. In Hiddify click New Profile (+) and choose Add from clipboard.
Profiles New ProfileAdd from clipboardScan QR codeAdd manually -
Use VPN mode
In Settings → Config options set Service mode to VPN so every app goes through the tunnel.
-
Connect
Select the RealVPN profile and press the big connect button. The first time, macOS asks to add a VPN configuration — click Allow and enter your Mac password.
Connected · RealVPN -
Check it works
Open realvpn.io — the Live check card at the top shows the IP and country websites see. It should be the RealVPN server, not your own.
Hiddify can’t connect? Generate a config for another location, or check I can’t connect. Generate a separate config for each device so you can manage them individually in My devices.